*FYI - this post may contain affiliate links, which means we earn a commission at no extra cost to you if you purchase from them. Also, as an Amazon Associate I earn from qualifying purchases. Check out our Privacy Policy and Disclosure for more info.
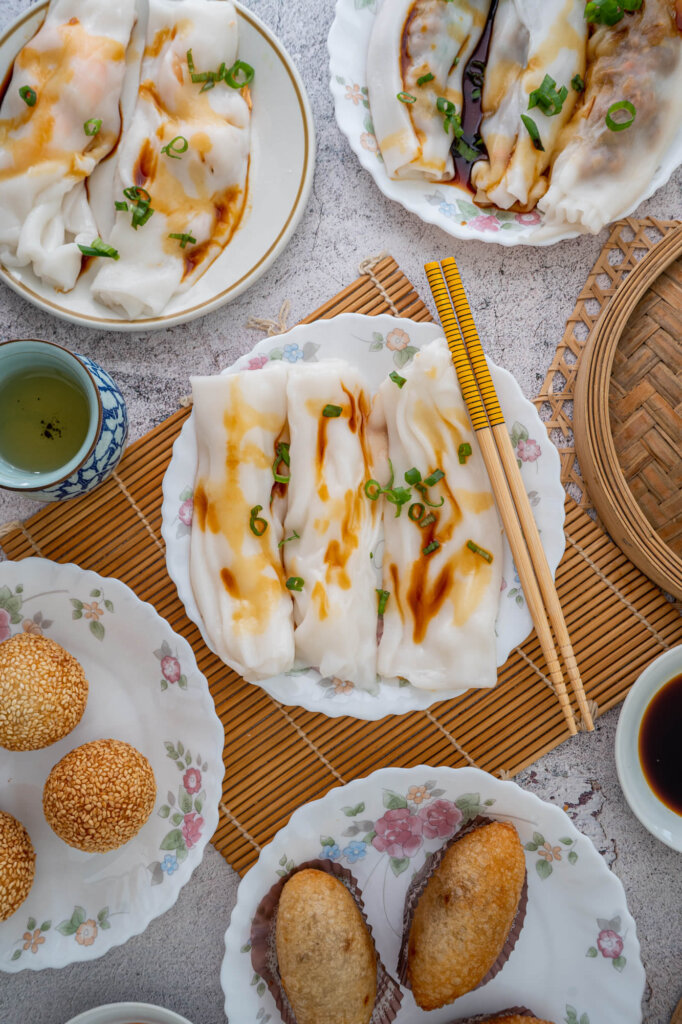
Steamed Rice Rolls, AKA Cheung Fun are an iconic Cantonese dim sum dish and street food consisting of addictive rice noodle sheets rolled up in slurp-worthy tubes.
These rolls can be enjoyed plain or filled, but a healthy dousing of sauce on top is non-negotiable.
Growing up, weekly dim sum outings always meant a gorgeous assortment of Cheung Fun on the table: from Ha Cheung (rice noodle rolls with shrimp) and Char Siu Cheung (rice noodle rolls filled with BBQ Pork) to Ja Leung (Chinese donuts wrapped in a rice noodle roll).
The addiction became so real that Papa G set his sights on learning to make Cheung Fun at home – a laborious but delicious endeavour that led to this blog post!
Today, we’ll be sharing an easily adaptable recipe for plain Rice Noodle Rolls (Cheung Fun). Since this recipe deals with plain Cheung Fun (that you can customize with your fillings of choice), the base recipe below is fully vegan, and also gluten-free if you pick a gluten-free wheat starch.
So, keep scrolling for our foolproof Steamed Rice Rolls (Cheung Fun) recipe. We promise it’s (literally) tons of Fun.
Cheung Fun Fillings/Serving Options
In this recipe, we’re focusing mainly on just the Rice Noodle roll itself, showing you how to create a plain (but delicious) Cheung Fun that pairs perfectly with any fillings you please.
If you want to take things a step further though and recreate some of your favourite dim sum classics, then you can definitely use the recipe below as a base.
Generally speaking, some of the most common ways to enjoy Cheung Fun are:
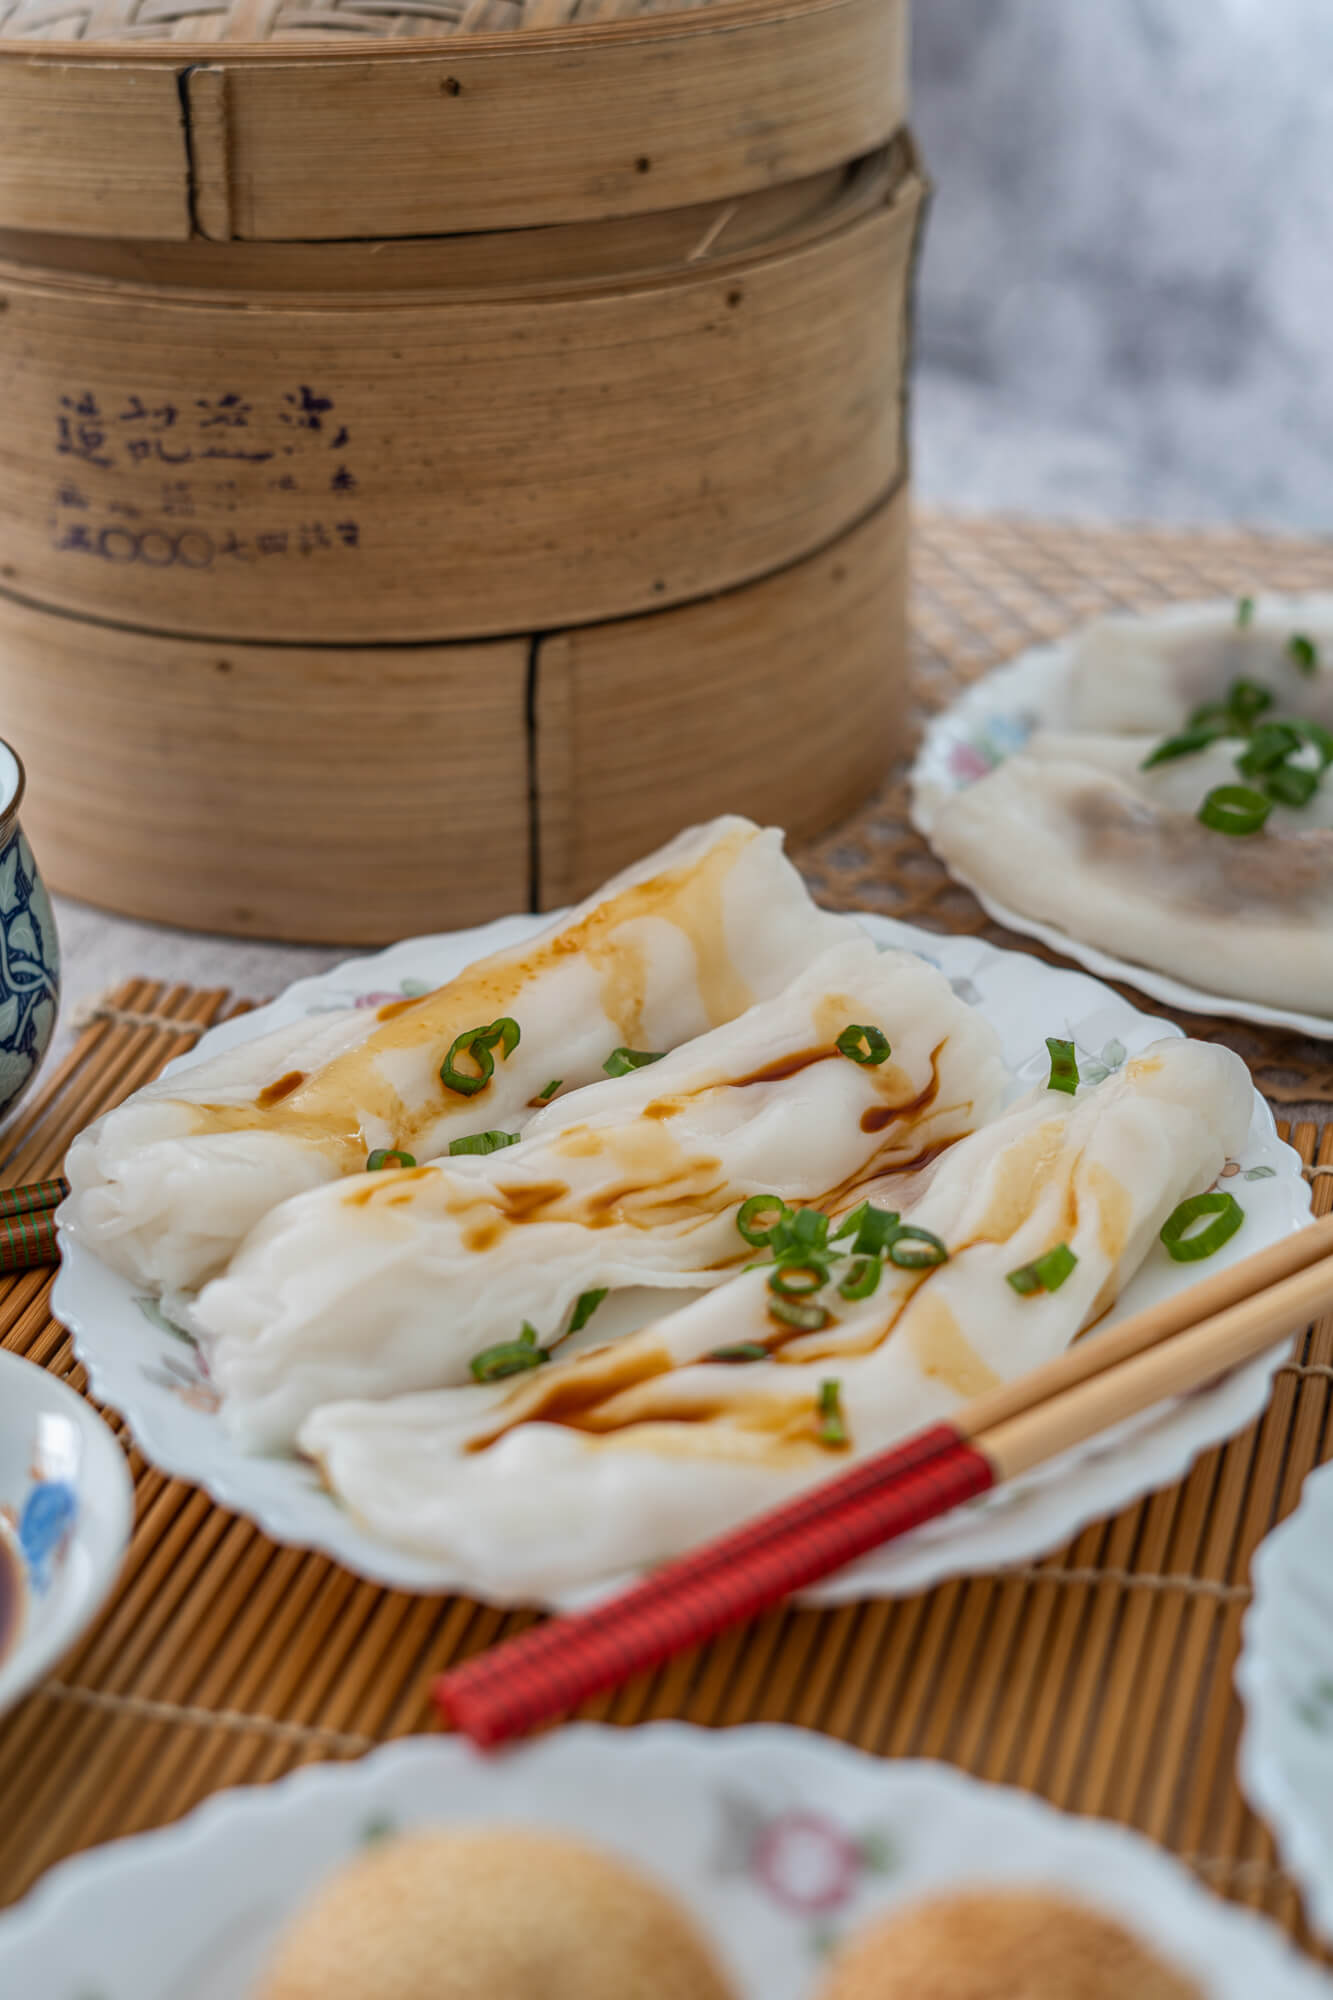
- Plain, with some sweet soy sauce
- Plain, with some green onions added to the batter, with a sweet soy sauce drizzle
- Smaller, tightly rolled tubes that are pan-fried then smothered in sauce
- With a shrimp filling
- With a beef filling
- With BBQ Pork (Char Siu) as a filling – check out our air fryer Char Siu if you want to pursue this option!
- Wrapped around a Chinese donut (Youtiao), then dunked in hoisin and peanut sauce
We hope to share recipes in the future for all the dishes, but for now, we hope you enjoy our plain Cheung Fun recipe! For the best flavour combo, we recommend pairing it with some sweet soy sauce. You’ll be getting dim sum flashbacks right away.
Tips for Nailing Your Cheung Fun (Rice Noodle Rolls)
Add boiling water to your Cheung Fun mixture
According to Papa G, this is an important step, as boiling water will help ensure the rice roll mixture is smooth and doesn’t stick as much to the bottom.
Stir your Cheung Fun mixture before every batch
The flours/starches in this recipe have a mean way of finding their way to the bottom of the bowl really quickly, so make sure you give the entire mixture a thorough stir before making a new batch of Cheung Fun, to ensure that none of your flour/starch is stuck to the bottom of the bowl.
Be sure to oil your pan before steaming
A light brush of oil will help the Cheung Fun lift from the pan a lot easier, and reduce rolling-induced headaches.
For thinner Cheung Fun, don’t fill your tray/plate completely with batter
The thickness of one’s Rice Noodle Rolls is a matter of personal preference. While some think “the thinner the better”, our household actually prefers our Cheung Fun a bit thicker, so there’s a bit more bite to it.
If you prefer thin Cheung Fun though, here’s a trick: don’t try to completely cover the bottom of your steaming tray/plate with batter. Instead, fill it with almost enough to cover, then slightly tilt the plate/tray while it’s steaming so the batter moves/cooks and eventually covers the entire bottom. This way, you’ll have a much thinner result.
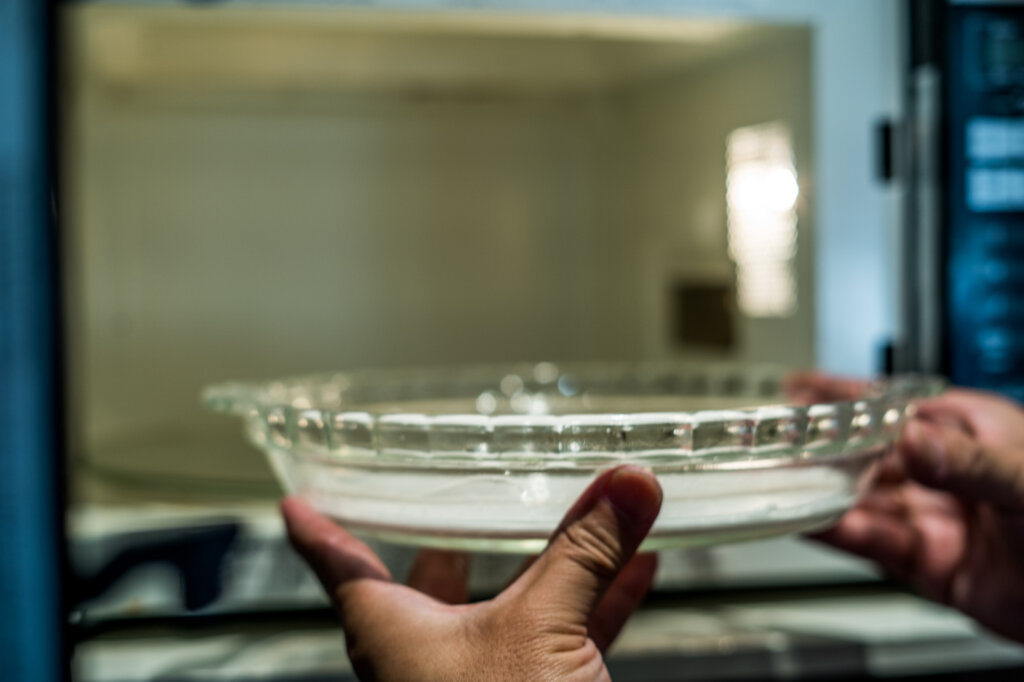
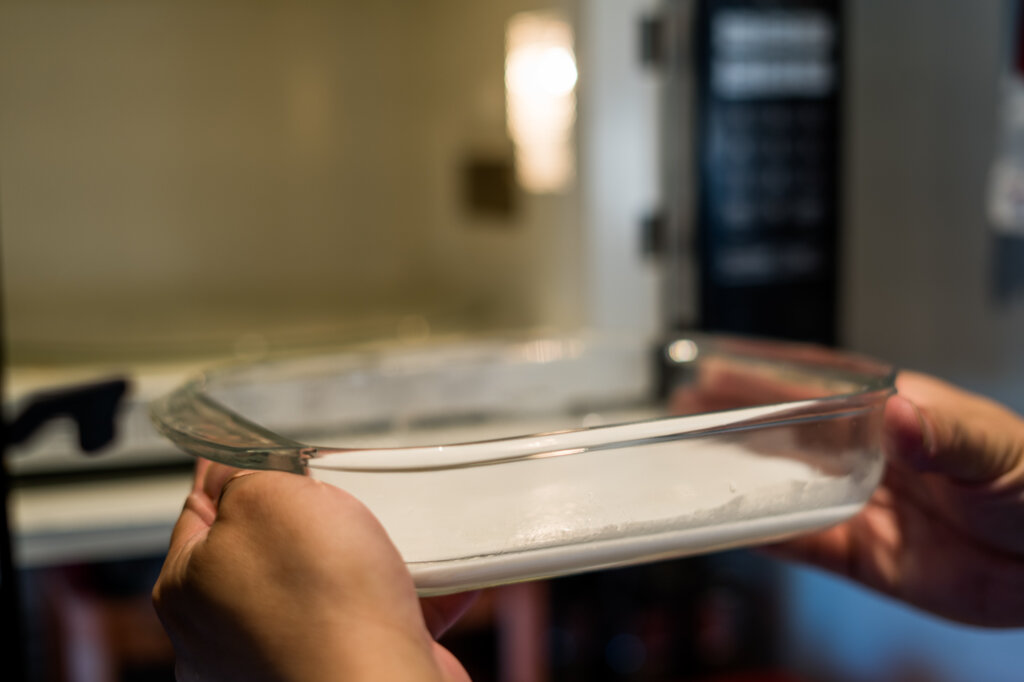
Nuke your steamed rice roll in the microwave for a quicker result
Steamed cheung fun is tasty and amazing, but it can also be quite laborious, with all that boiling water, steam, and frequent breaks in between making batches.
For those who want a quicker solution, here’s a special Papa G lazy hack: you can actually cook your Cheung Fun in the microwave! We elaborate more on the process below, but long story short, you just need to pour a thin layer of batter into a microwave-safe dish, and zap it for about 2.5 minutes. Easy peasy.
Wait for the Rice Noodle Rolls to cool before rolling
Trying to roll your Cheung Fun right away is a recipe for disaster! Hot Cheung Fun that has been freshly steamed will usually be very sticky and hard to roll. Instead, wait for at least 20 seconds, or take it one step further and rest your dish on some cold water to help the Cheung Fun cool faster.
Practice makes perfect!
Don’t be disheartened if your first batch of Cheung Fun doesn’t come out exactly like at authentic dim sum restaurants.
It takes a lot of practice to develop a Cheung Fun “6th sense” where you know exactly how much batter yields your ideal noodle thickness, how long to steam it for, etc. Keep at it though, and you’ll soon become a total Rice Noodle Roll pro!
After all, with the right sauce and fillings, Cheung fun tastes amazing even if it doesn’t look perfect.
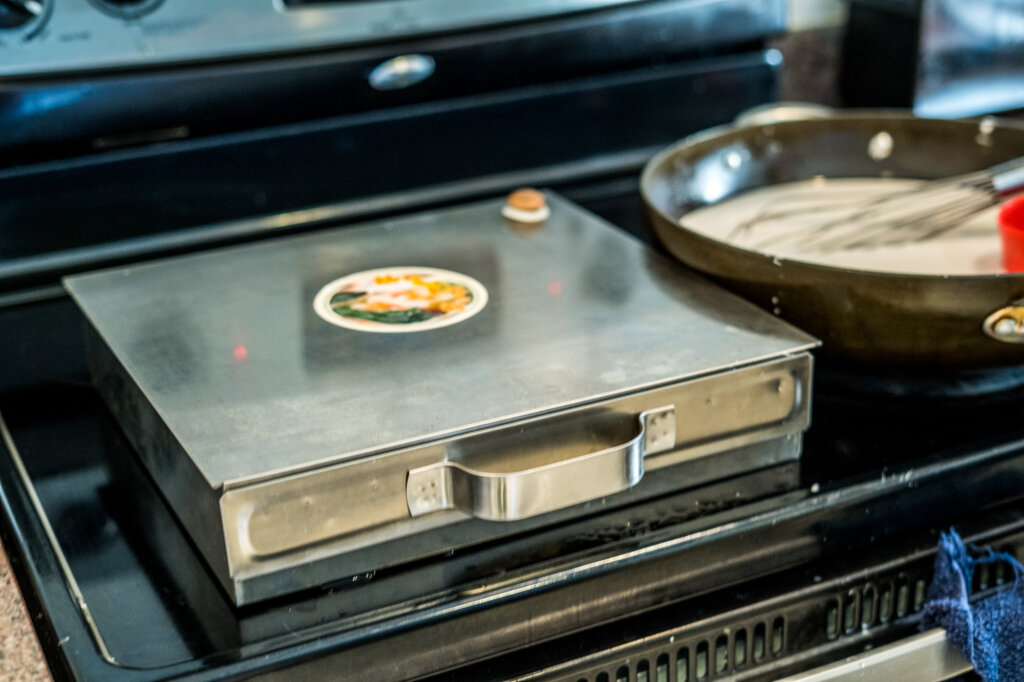
Making Cheung Fun often? Invest in a cool steamer drawer
Okay, so this final tip is maybe only for the ultimate Cheung Fun fans among you, but if you plan to be making Cheung Fun often, a handy tool most people have probably never heard of is a steamer drawer.
True story: Papa G once lugged an entire steamer drawer 6500 miles across the world after a trip to China. Imagine his surprise when I told him you can actually buy them on Amazon now… here, in case you’re curious.
These steamer drawers make large batches of Cheung Fun super easy to prepare. Don’t worry though, if that’s too intense for you, our wok steaming method or microwave method will work just fine.
Alright, now that we have thoroughly scared you off of ever wanting to attempt making Cheung Fun by yourself, here is Papa G’s special Rice Noodle Roll recipe!
Ingredients for Our Steamed Rice Rolls (Cheung Fun) Recipe
- 1 cup rice flour
- 1/2 cup wheat starch
- 1/2 cup tapioca starch
- 1 tbsp oil
- 1/2 tsp salt
- 1.5 cup water
- 2.5 cups boiling water
- 1 tbsp sliced green onions (for garnish)
- Sweet soy sauce (for serving)
Step by Step Instructions for Our Steamed Rice Rolls (Cheung Fun) Recipe
Cheung Fun may be a bit more labour-intensive than our other recipes, but the result is well worth the extra elbow grease! Here are the step by step instructions for making Cheung Fun at home.
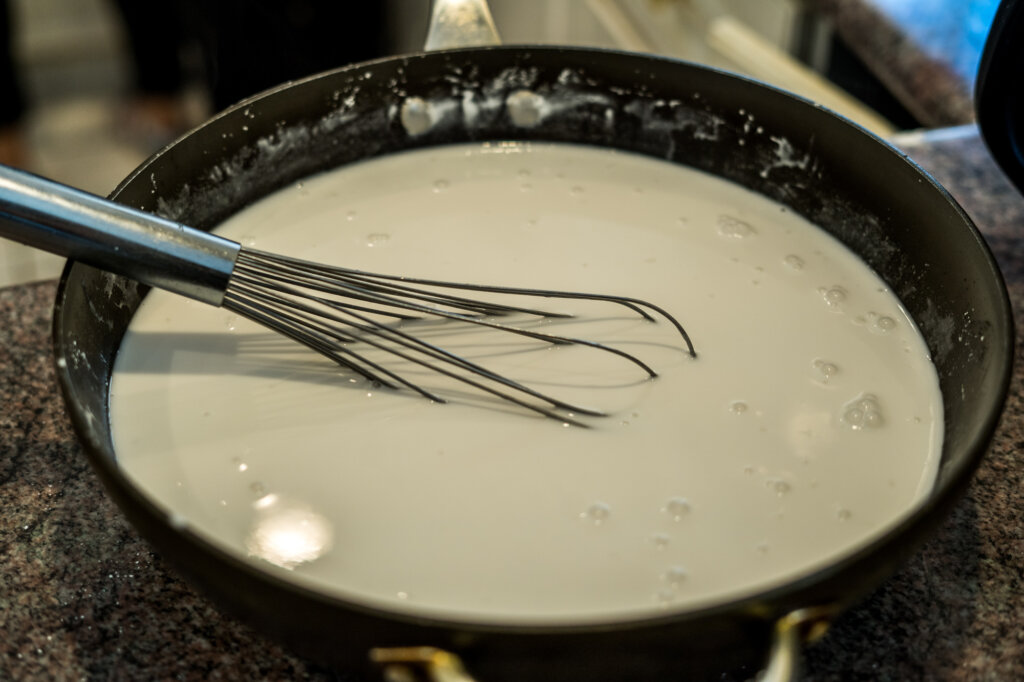
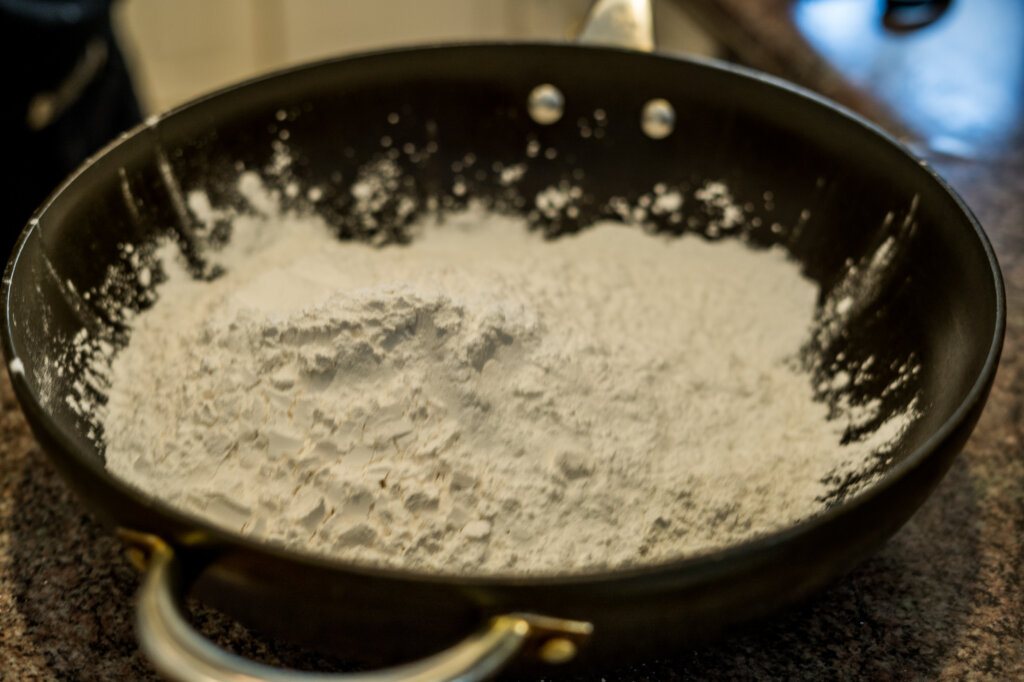
Add 1 cup rice flour, 1/2 cup wheat starch and 1/2 cup tapioca starch in a big bowl.
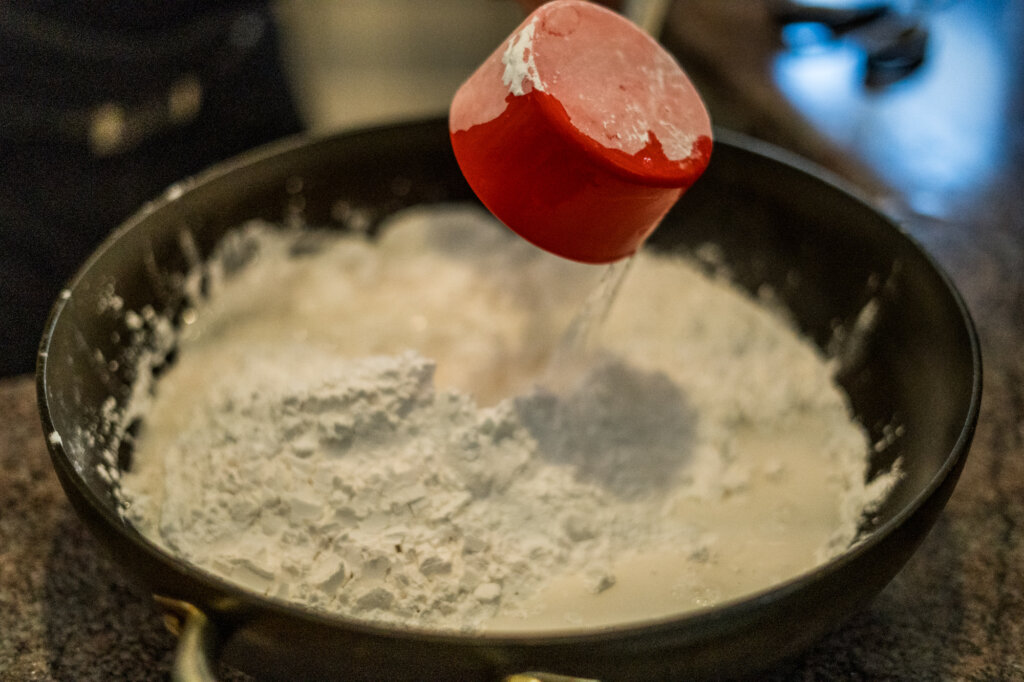
Add 1.5 cups room temperature water into the bowl and whisk it all together.
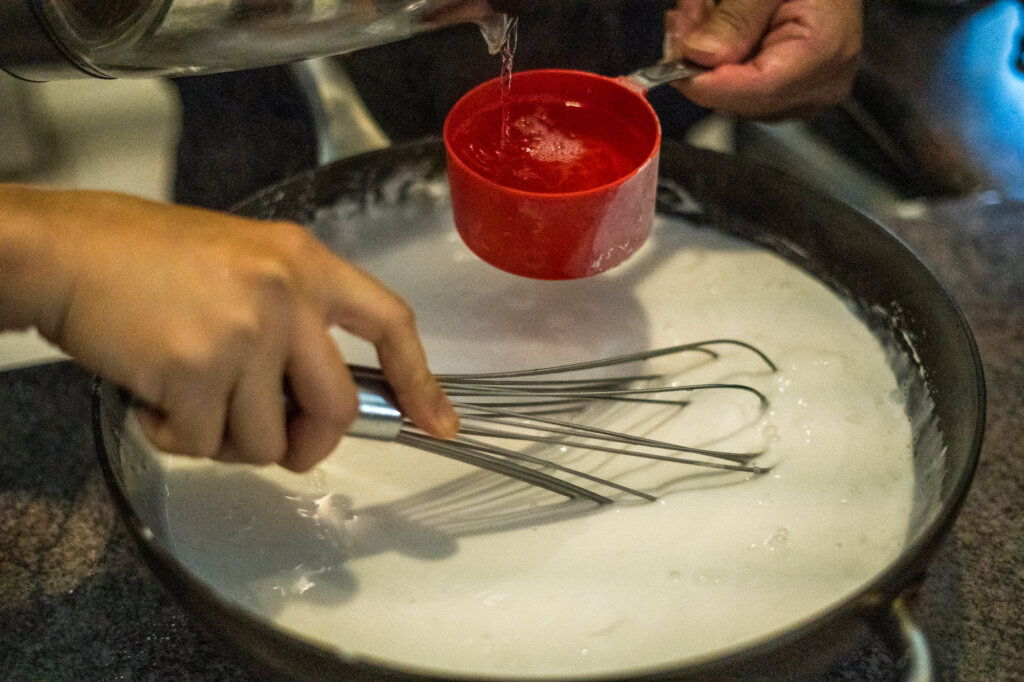
Boil 2.5 cups of water, then slowly add these 2.5 cups into your mixture.
Add 1 tbsp oil and 1/2 tsp salt into the mixture, and whisk well until you get a nice smooth batter with no lumps.
To steam your Cheung Fun, you have three options:
- OPTION A: Steam Drawer
- OPTION B: Steam with a plate/pan placed inside a wok
- OPTION C: Microwave
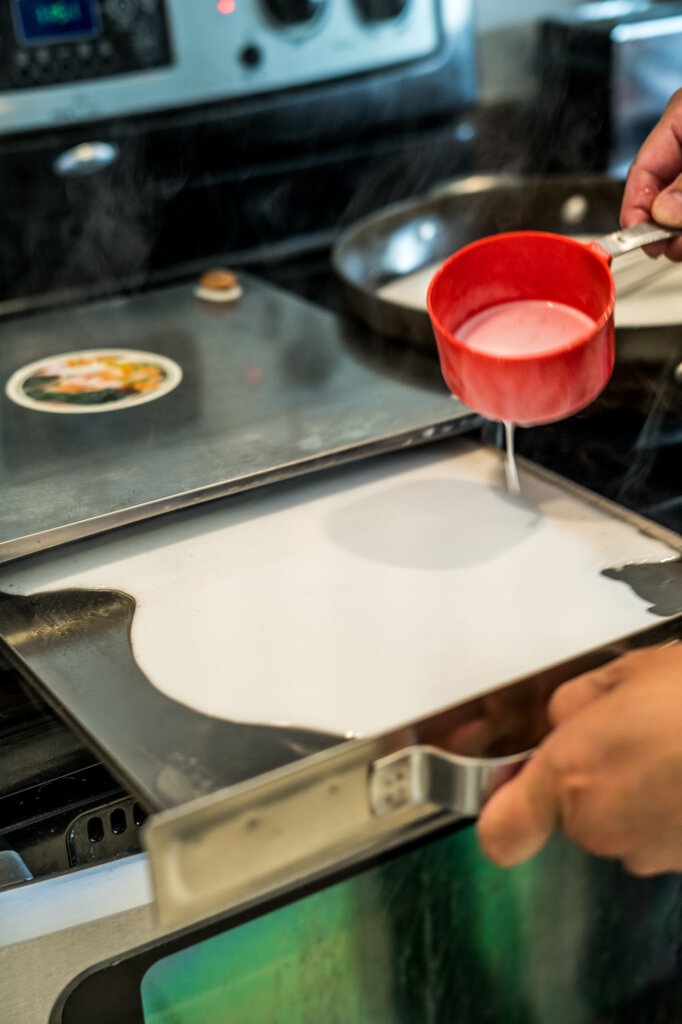
To use a stream drawer, the process is super simple: add water to your steam drawer and heat until it’s boiling/producing steam. Remove a tray from the drawer, brush it lightly with a very thin layer of oil, then pour your batter on top, creating a thin layer that just barely covers the bottom (or less, if you prefer it thinner). Steam it for 1.5 minutes and remove.
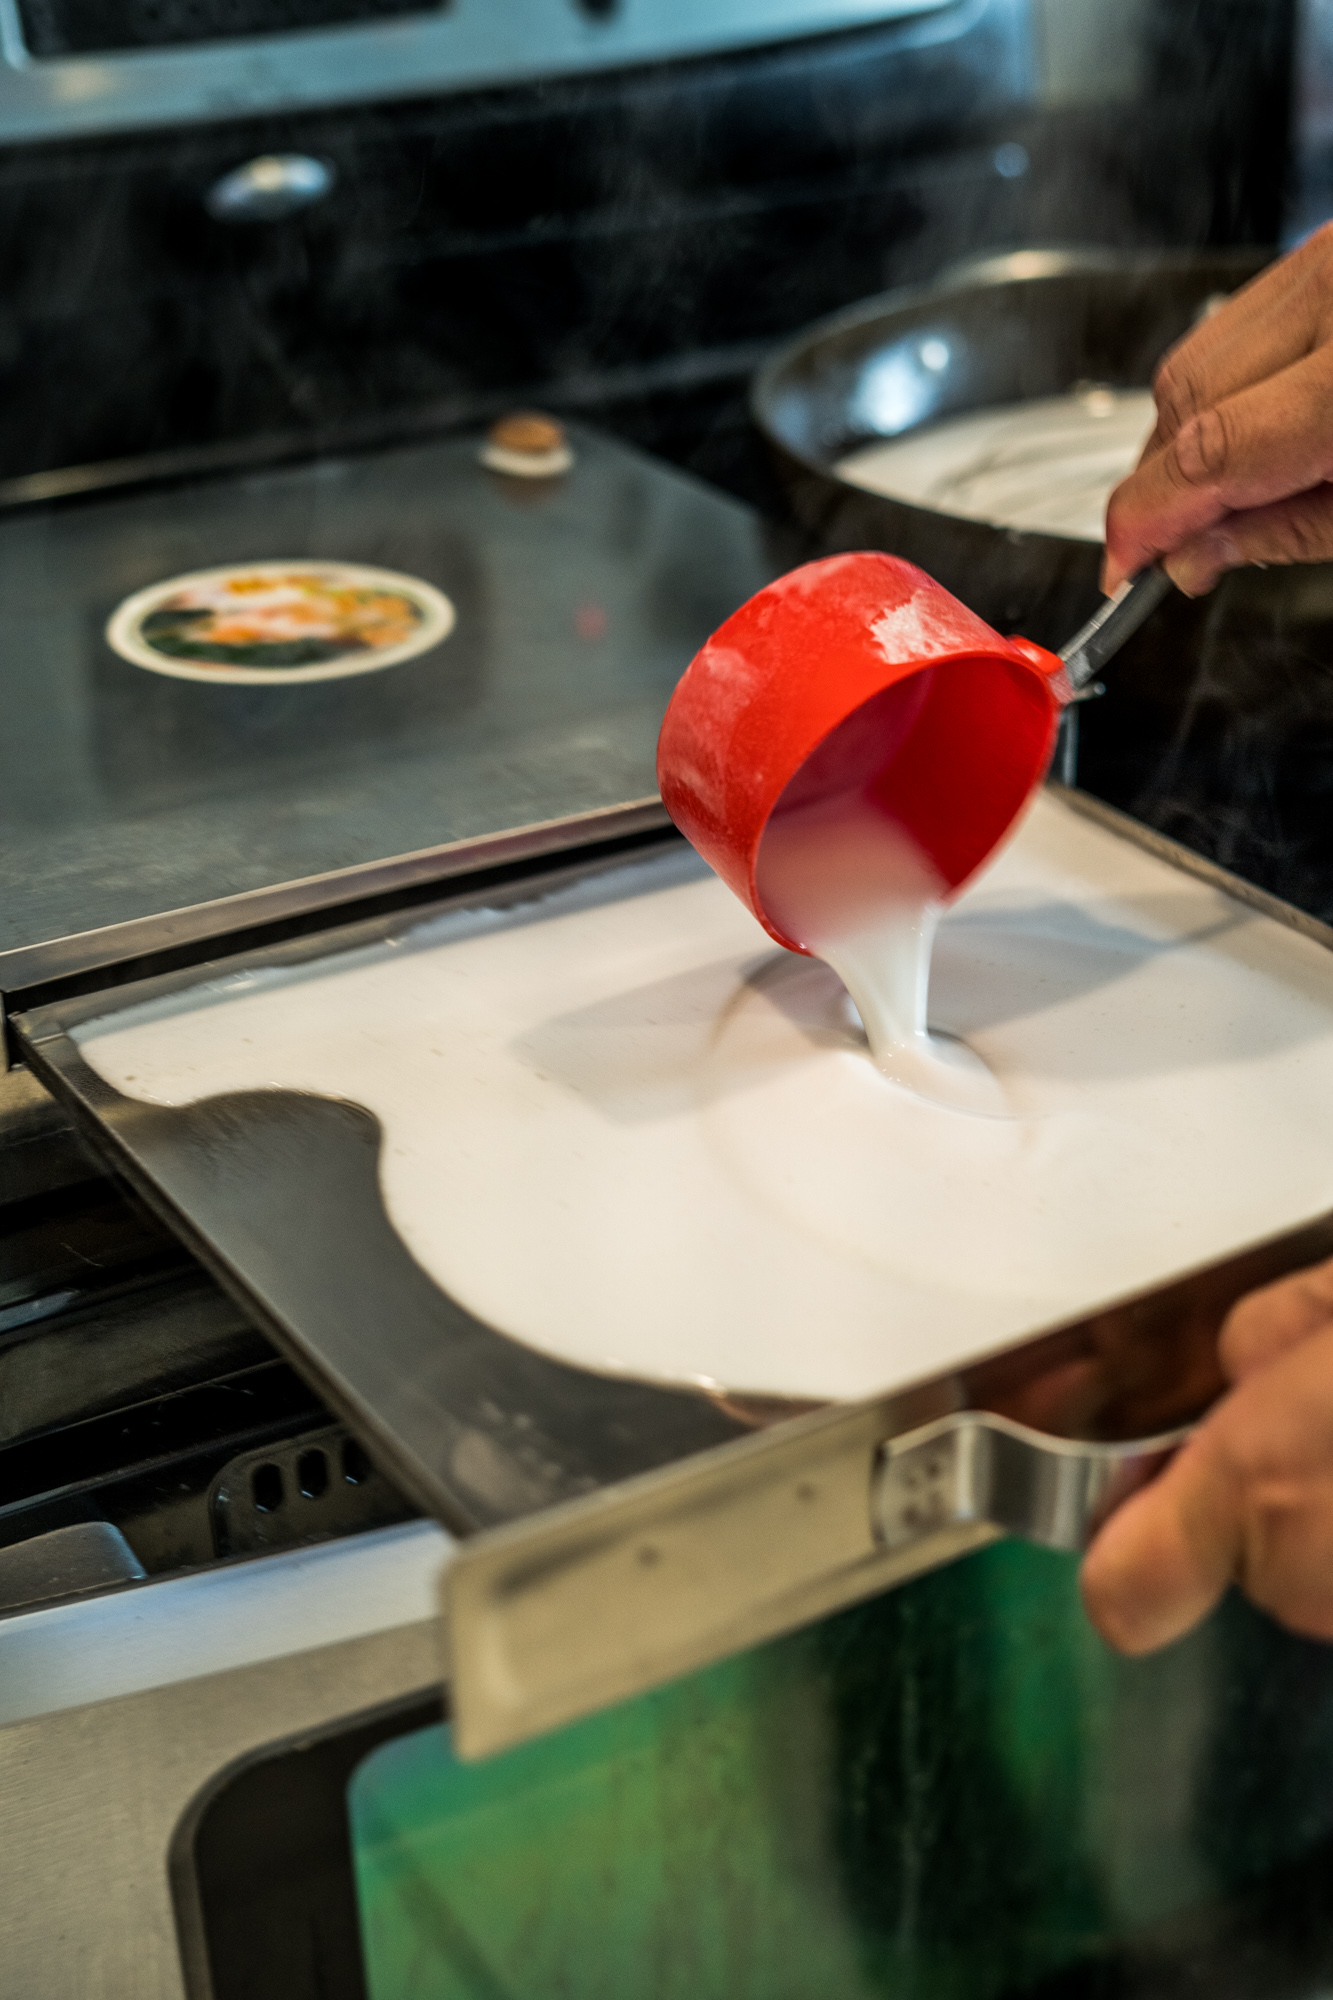
To steam your Cheung Fun in a wok, place a wire rack inside your wok that will fit the tray/plate you plan to use to steam your Cheung Fun. Fill the wok with water, and bring the water to a boil. Brush your plate/tray with a thin layer of oil, then pour your batter on top, creating a thin layer that just barely covers the bottom (or less, if you prefer it thinner). Steam it for 1.5 minutes and remove.
To cook your Cheung Fun in a microwave, brush your plate/try with a thin layer of oil, then pour your batter on top, creating a thin layer that just barely covers the bottom (or less, if you prefer it thinner). Microwave it for 2.5 minutes (you might need more or less depending on your microwave and its settings), and remove.
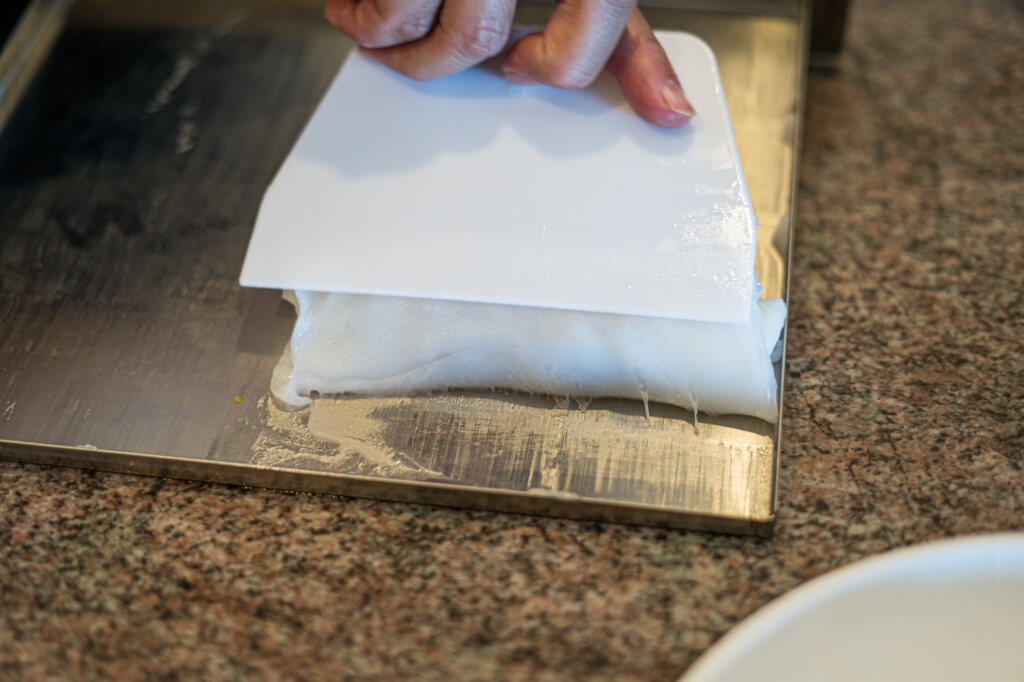
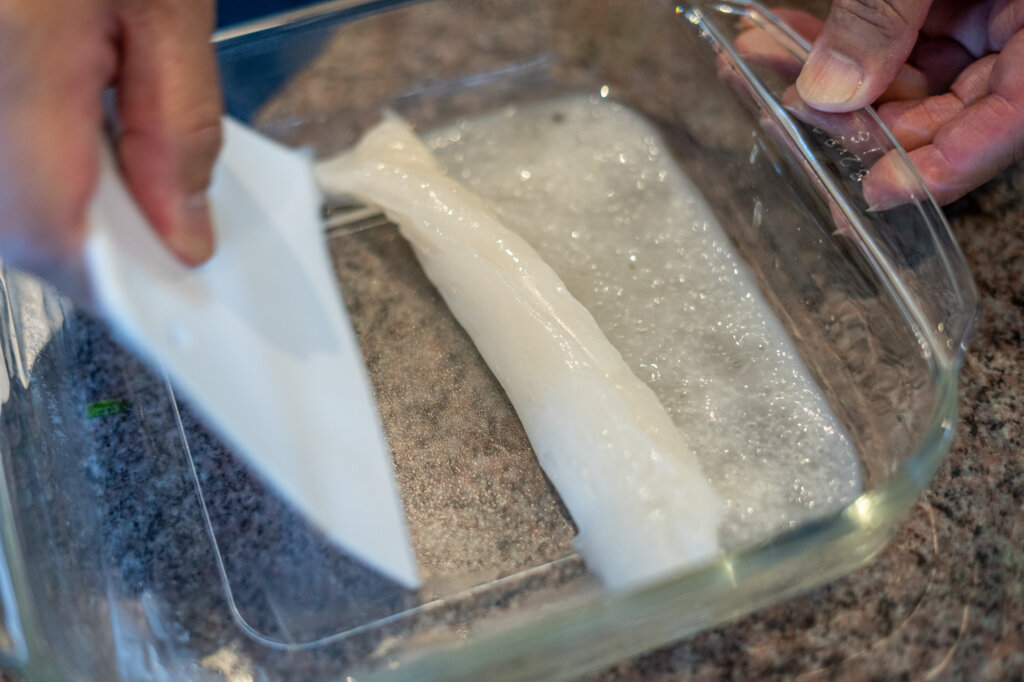
After your big sheet of rice noodle has been cooked, it’s time to roll them up!
IMPORTANT NOTE: Be sure to wait for the noodles to cool before rolling (you can dip the pan in cold water to speed up the process).
If you’re adding filling, place it in the center of your rice noodle sheet before rolling.
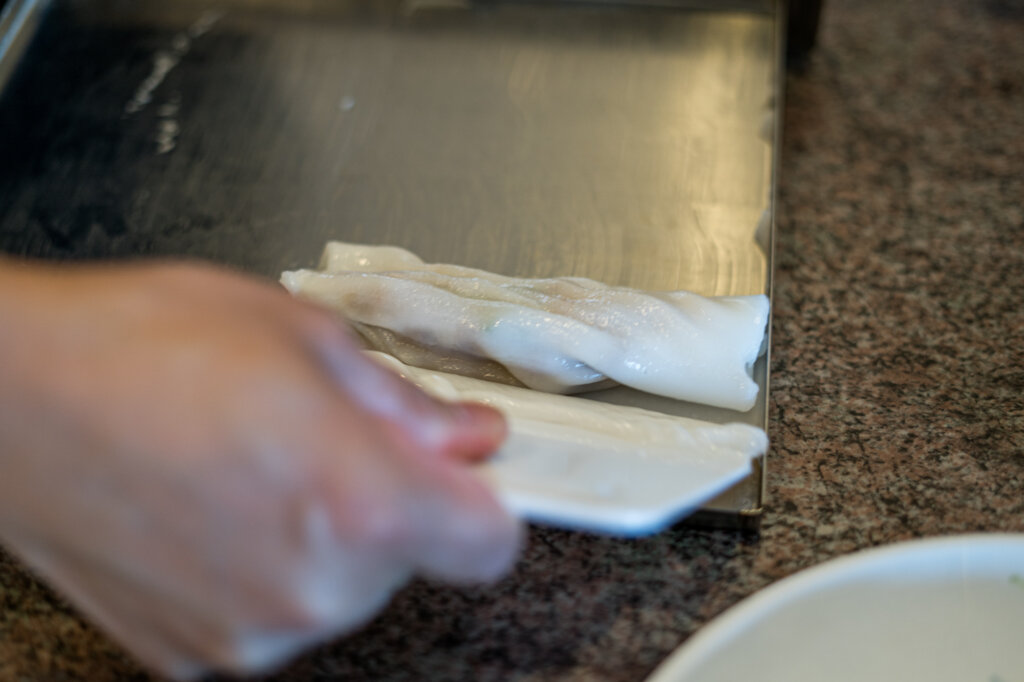
Then (using a dough scraper), gently roll your rice noodle into a nice tube.
Depending on the size of your steaming pan, you might need to cut your roll in half (or smaller pieces) to make it more manageable to eat.
Top with green onions, serve with some sweet soy sauce and enjoy! Don’t have any on hand? Check out our easy one minute sweet soy sauce recipe to make your own.

Steamed Rice Rolls (Cheung Fun)
Ingredients
- 1 cup rice flour
- 1/2 cup wheat starch
- 1/2 cup tapioca starch
- 1 tbsp oil
- 1/2 tsp salt
- 1.5 cup water
- 2.5 cups boiling water
- 1 tbsp sliced green onions (for garnish)
Instructions
- Add 1 cup rice flour, 1/2 cup wheat starch and 1/2 cup tapioca starch in a big bowl.
- Add 1.5 cups room temperature water into the bowl and whisk it all together.
- Boil 2.5 cups of water, then slowly add these 2.5 cups into your mixture.
- Add 1 tbsp oil and 1/2 tsp salt into the mixture, and whisk well until you get a nice smooth batter with no lumps.
- To steam your Cheung Fun, you have three options- OPTION A: Steam Drawer, OPTION B: Steam with a plate/pan placed inside a wok, OPTION C: Microwave. Refer to the full blog post for instructions on each.
- After your big sheet of rice noodle has been cooked, it’s time to roll it up! IMPORTANT: Be sure to wait for the noodles to cool before rolling (you can dip the pan in cold water to speed up the process).
- If you’re adding filling, place it in the center of your rice noodle sheet before rolling.
- Using a dough scraper, gently roll your rice noodle into a nice tube.
- If needed, cut your roll in half (or smaller pieces) to make it more manageable to eat.
- Top with green onions, serve with some sweet soy sauce and enjoy!
We Hope You Enjoy Our Steamed Rice Rolls (Cheung Fun) Recipe!
Let us know in the comments if you have any questions, or be sure to let us know if you’ve tested the recipe out. We’re always looking to improve our recipes and make sure they taste great for everyone.